To create the Servlet in NetBeans,So follow some steps:-
- Go to the File menu, select New Project.
- Choose the Category of project as Web.
- Choose the Project type as Web Application.
- Enter a Project Name
- Use the default context path, and use J2EE 1.5 or greater.
- Select Tomcat as the Server.
- Set the Java EE version to J2EE 1.5 or greater.
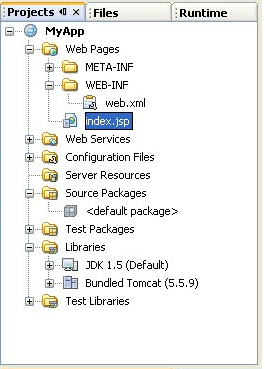
- After clicking finish, there should be a project listed in
your Projects tab.
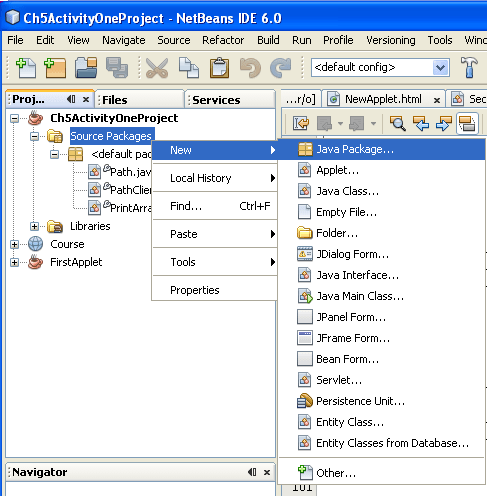
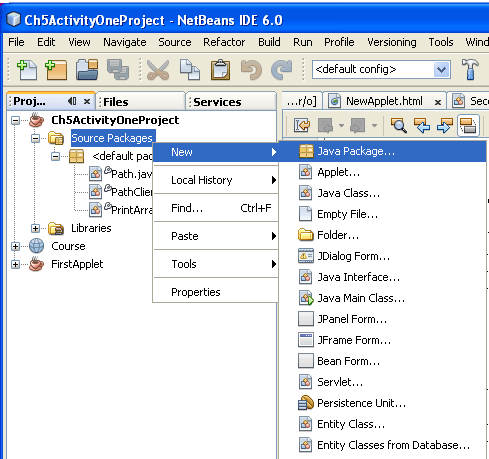
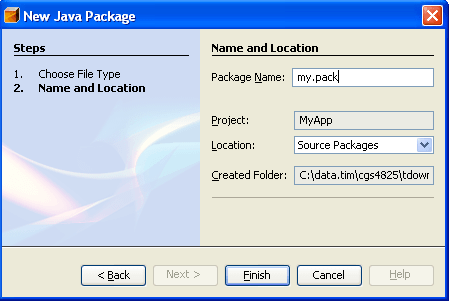
Right-click on Source Packages and select New, then select
Java Package.
Give full name of the Java package, for instance my.pack,
then click Finish.
Right click on the new package and create a new class.
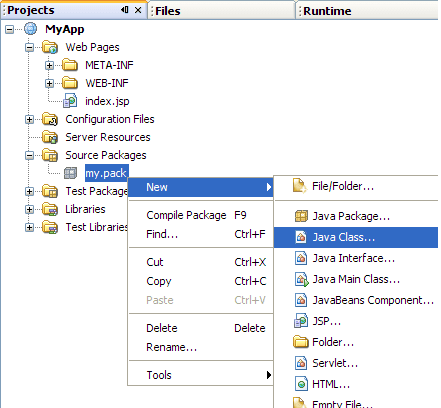
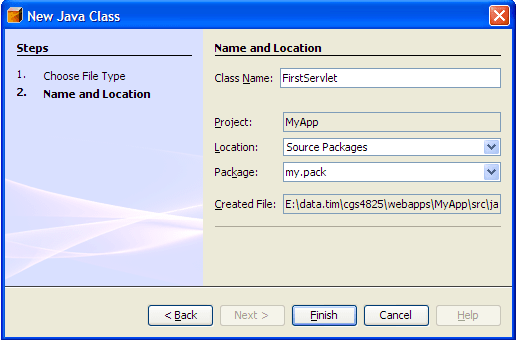
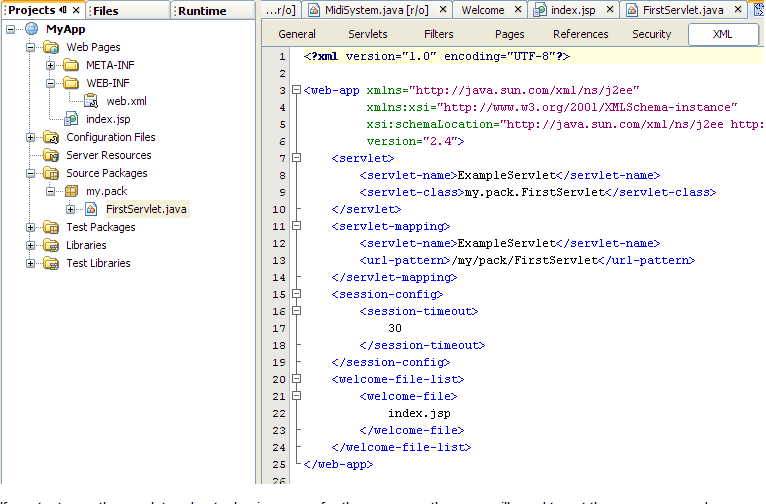
After completing these steps, you can see the servlet in the Source Packages folder.
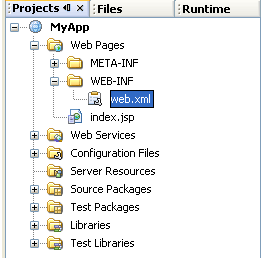
Open the web.xml file. There are many ways to view the
contents of the web.xml file, click the XML tab above the edit
window to view the XML source.
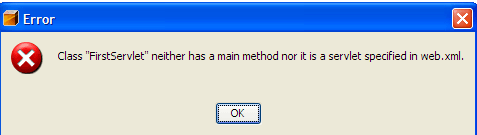
Define the servlet and servlet-mapping tags.
If you try to run the servlet and get a log in screen for
the manager, then you will need to set the username and password for
the manager. Do this from theTools -> Server Manager menu (Tools ->
Servers in NetBeans 6.0).
Including Source Files in the WAR File
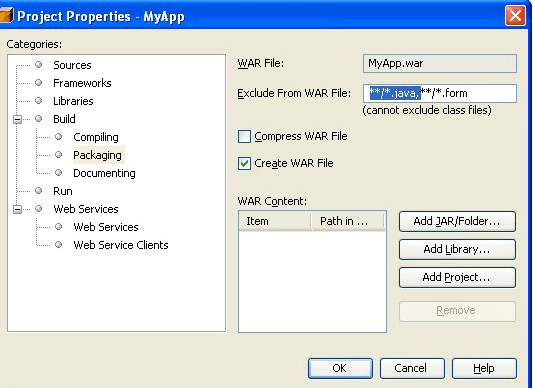
By default, the .java files are not added to the WAR file
and properties screen, select Build -> Packaging. Edit the Exclude
From WAR File box and remove **/*.java,.
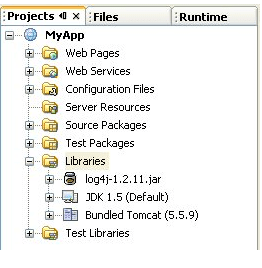
Additional features will be added to a web application by
using jar files. Download the jar file to your system, then
right-click the Libraries folder and select Add JAR/Folder.
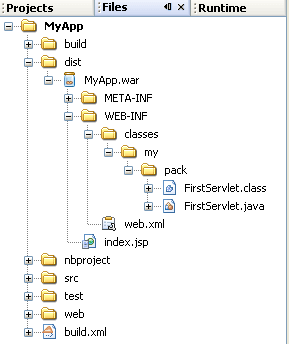
Whenever the project is cleaned and built (select Clean and Build from the Build menu), a Web Archive (WAR) file is created. This WAR file is actually a ZIP file that contains the web application. The WAR file contains a web application that has a standard format. The WAR file is located under the Files tab in the dist folder.